Coraline VHS Tape
It was a Thursday night when I was out with my friends and the topic of our favorite movies came up. Classics such as Clueless, Pride & Prejudice, Back to the Future and more were brought up. I brought up one of my favorite movies, Coraline. I have always been intrigued by the film due to production, editing and impeccable soundtrack. Someone overheard our conversation and interrupted us. This lady told us that she works with her local film club to design graphics for indie films. She told us that she wanted the members of her club to practice working with photo editing skills to improve their graphic design skills. We started talking about possible ways to help her club members hone in on their skills. We finally came up with an idea and she invited me to her club’s next meeting to help her execute the idea.
The workshop we came up with is to design a VHS tape of any movie that came out after the year 2005. The one twist we added to make this project a bit challenging was that the VHS cover had to resemble the 80s in some way. We had all the members create their VHS tape/cover with Pixlr, a photo editing software which is easy to navigate for beginners. We shared some resources to help the club members create their tapes. The resources being Flickr, 1001 Fonts, Texturelabs and Pexels. I created a demo piece to help the club members get an idea of what their final product may look like.
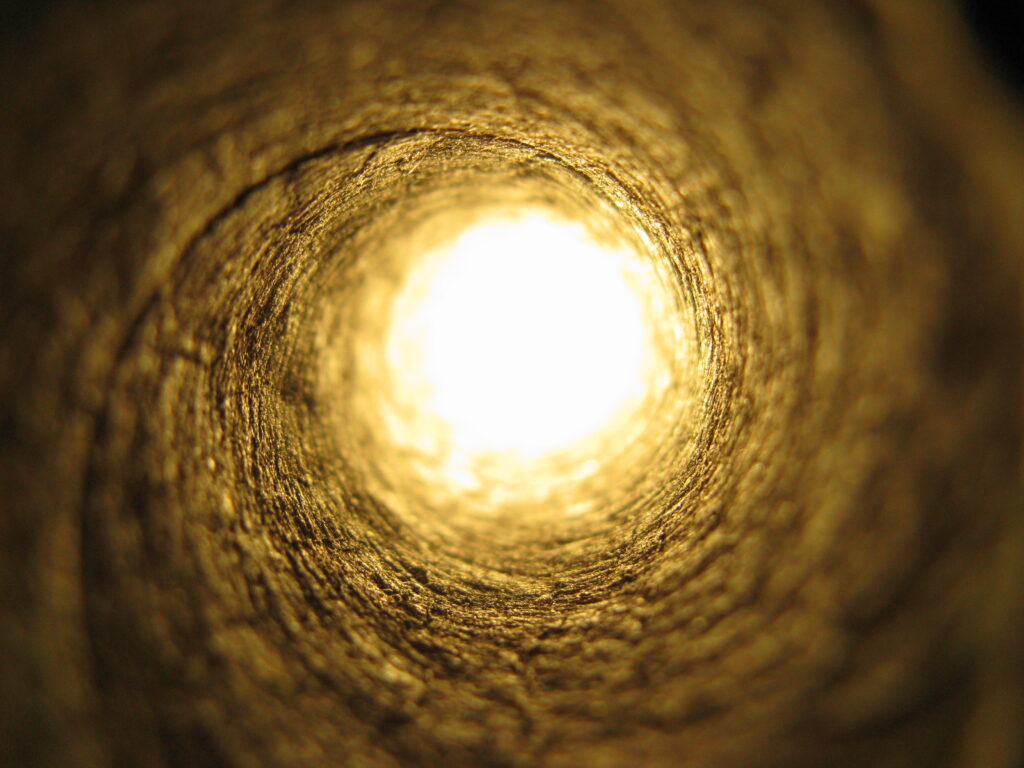
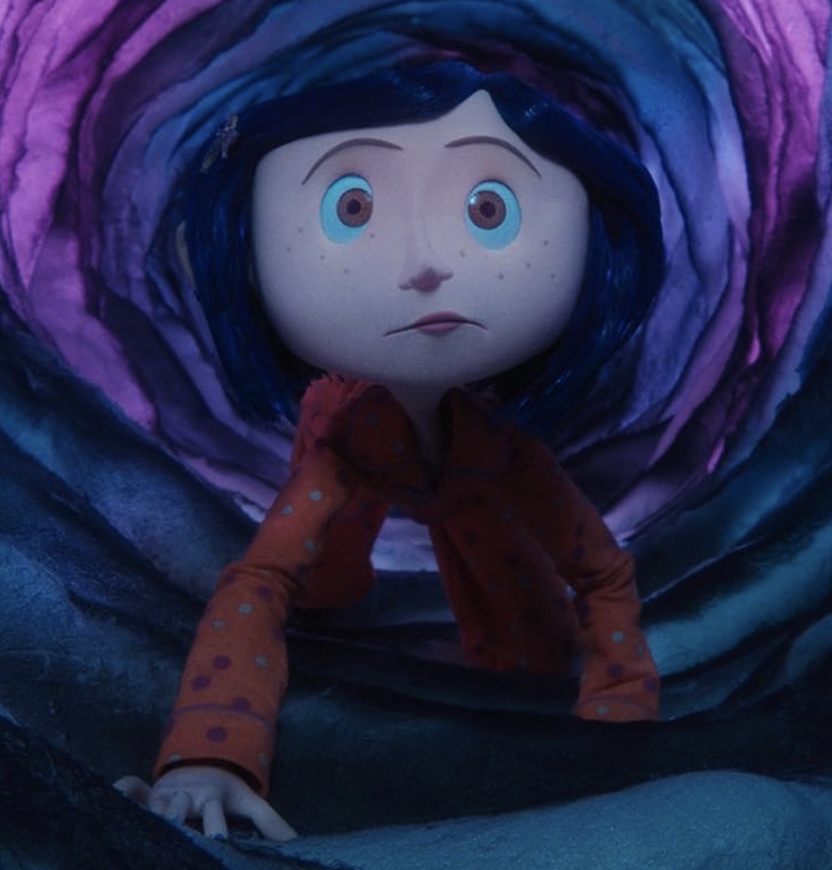

The images above are what I used to create my VHS tape. The Golden Tunnel can be found here and I got two stills from Coraline off of the IMDb website. First I played around with the tunnel which I had envisioned as my background image and used the ‘Adjustment’ and ‘Filter’ settings to change the color and how the image looked until I was pleased. I then opened the other two images I wanted to use, Coraline crawling through the tunnel and the shadow of a button almost covering the moon. Using the ‘Cutout/Mask’ tool I took out the parts of the image that I didn’t want to include in my final product. I cut out the subject matter I wanted and cleaned it up with the ‘Eraser’ tool. Bringing both images over I placed them where I wanted and adjusted their sizes. For the movie title and quote at the bottom I looked for 80s styled fonts from 1001 Fonts. I downloaded a few that I liked and uploaded them to Pixlr. I messed around with the typography by curving it, changing the color, changing the spacing between the letters and adding shadows to create depth. I realized my VHS tape was a bit bare so I looked up VHS Tapes on Google to get inspiration for what else I could add. I saw that most VHS tapes had some obvious wear and tear and they also had stickers that had genres and other reminders on them. I wanted to make my own stickers so I went to Pixlr again and messed around with the ‘Shape’ tool, added text, color and shadows to create a sticker look. Lastly, I went to Texturelabs and found a paper texture that I enjoyed and I applied it to the VHS to give it more character.

This is what my final product looked like and I was able to help the club members get a feel for how their own VHS tapes were possibly going to look like.
The club leader was pleased to have me be a part of their workshop and I was able to help other creative people get more familiar with graphic design. It was an eventful meeting and I enjoyed myself so much that I have decided to join the club. I found the VHS project to be easy yet challenging. I think it was a great way to navigate a photo editing program and see what you can create given artistic freedom. I hope that my typography is easy on the eyes and is legible to everyone.